All Courses & Ebooks
FREE
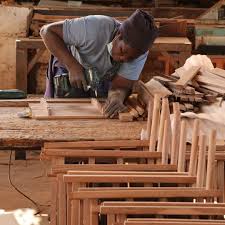
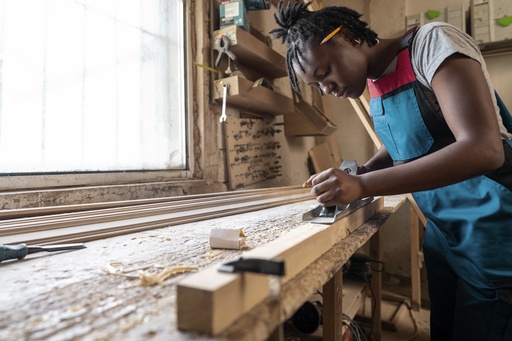
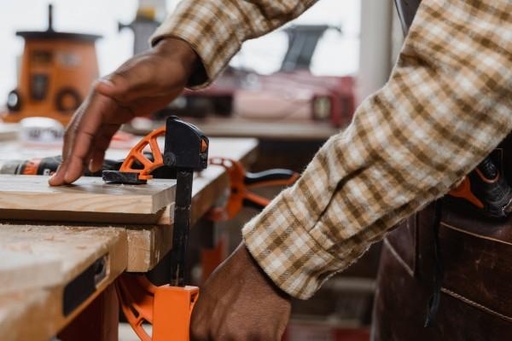
Furniture makers make and restore items like chairs, tables, beds and display cabinets.
Related Occupations: cabinet maker, craft woodworker
Author: National Industrial Training Fund, Technical & Vocational Skills Training Department, Nigeria

FREE
National Industrial Skills Development Programme (NISDP) Training Job Sheet - Furniture Making (Cabinets & Upholstery)
Author: Industrial Training Fund, Nigeria

FREE
National Occupational Standards for Construction/Building Trades in Nigeria - Carpentry - Levels 1, 2 & 3
Approved by the National Board for Technical Education (NBTE) - National Skills Qualification (NSQ), Nigeria
FREE
National Occupational Standards for Construction/Building....

FREE
The Youth Explore Trades Skills Activity Plans are teacher resources designed to help students explore careers in trades and skills-related disciplines.
These activity plans are specifically designed to introduce students to trades and skills through activities that provide valuable hands-on experience. Through exposure to modules like these students will be able to make better informed career decisions.
The activities in the Carpenter module exposes students to fundamental carpentry skills as well as knowledge and attitudes needed for careers in the Carpentry profession.
In this module includes activity description, images, video links, terminology, lesson procedure, quizzes and assessment guidelines.
Author: Industry Training Authority Apprenticeship Programs, British Columbia
N 4,000
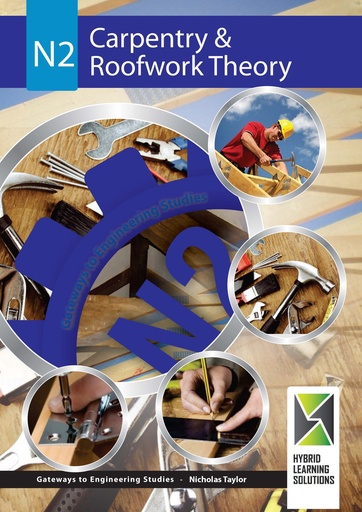
Carpentry and Roofwork Theory N2 is one of many publications introducing the gateways to Engineering Studies. This ebook is designed to develop the skills for learners that are studying toward an artisanship in carpentry related fields and to assist them to achieve their full potential.
This ebook, with its modular competence-based approach, is aimed at assisting facilitators and learners alike. With its comprehensive understanding of the engineering construction environment.
The subject mater is presented as worked examples in the problem-solving-result methodology sequence, supported by numerous and clear illustrations. Practical activities are included throughout the book. The author is one who is well known and respected in the manufacturing, engineering and related technology fields. Their extensive experience provides an excellent base for further study, as well as a broad understanding of the technology and the knowledge to succeed.
Author: Nicholas Taylor, Hybrid Learning Solutions
Yes, indeed! You can access the first chapter of this ebook for review prior to making a purchase.
Upon purchasing this ebook, you will be granted full access for a period of one year.
N 4,000
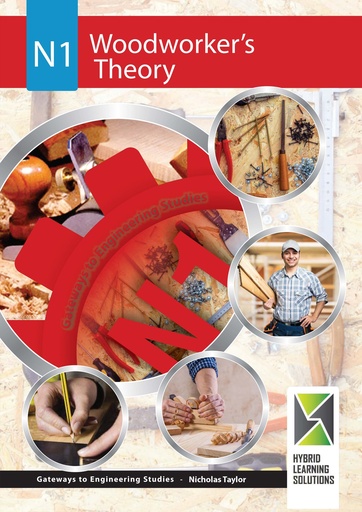
Woodworker's Theory N1 is one of many publications introducing the gateways to Engineering Studies. This ebook is designed to develop the skills for learners that are studying toward an artisanship in cabinetry, furniture making, wood carving, joinery, carpentry, and woodturning related fields and to assist them to achieve their full potential.
This ebook, with its modular competence-based approach, is aimed at assisting facilitators and learners alike. With its comprehensive understanding of the engineering construction environment.
The subject mater is presented as worked examples in the problem-solving-result methodology sequence, supported by numerous and clear illustrations. Practical activities are included throughout the book. The author is one who is well known and respected in the manufacturing, engineering and related technology fields. Their extensive experience provides an excellent base for further study, as well as a broad understanding of the technology and the knowledge to succeed.
Author: Nicholas Taylor, Hybrid Learning Solutions
Yes, indeed! You can access the first chapter of this ebook for review prior to making a purchase.
Upon purchasing this ebook, you will be granted full access for a period of one year.

FREE
Trainers from the Revenue Activity School introduce basic drawing techniques, specifically the isometric projection of a sample vanity. They discuss different types of projections, introduce drawing instruments like the compass and set square, and present the project for the lesson, which is a sample vanity with measurements of 900mm, 500mm, and 740mm. The trainers also encourage viewers to visit Wonderful Technique's e-learning website for more tutorials.

FREE
The video focuses on basic furniture carpentry, discussing the importance of selecting properly dried and measured timber and demonstrating the necessary preparation of materials using machines like the trim saw, surface planar, thickness, and circular saw. PPE is crucial while operating these machines, and measuring and marking where the cuts will be made is necessary. The instructors also demonstrate how to joint a remaining side for the correct thickness, measure the moisture content of wood using a hydrometer, and check the good and bad sides of the wood. The video concludes by offering further learning opportunities on their e-learning website.

FREE
In this video, a carpenter teaches how to make a basic chair using traditional joinery techniques. The video begins with an overview of the tools needed to make the chair and the measurements needed for each piece. The carpenter then proceeds to cut the wood pieces to the right size and shape using a combination of hand and power tools. The next step involves joining the legs and the apron using mortise and tenon joints. The carpenter also demonstrates how to create a curved backrest using a jigsaw. Once all the pieces are joined, the chair is sanded and finished using a combination of sandpaper and wood stain. The final product is a sturdy and functional chair that can be customized to fit the desired style.
FREE
In this video, a carpentry instructor demonstrates how to make a basic table using common woodworking tools and techniques. The instructor starts by explaining the necessary tools and materials such as saws, drills, sandpaper, wood glue, and screws. The instructor also explains how to select appropriate wood and how to measure and cut it to the desired length. The instructor then demonstrates how to assemble the table legs and attach them to the tabletop using screws and wood glue. They also show how to use a belt sander to smooth the surface of the tabletop. Finally, the instructor demonstrates how to apply a finish to the table to protect the wood and give it a polished appearance. The video ends with the finished product, a sturdy and functional table that can be customized with different finishes or designs.
FREE
In partitioning, a carpenter creates a dividing wall in a room or space. The process begins with measuring and marking the area where the partition will be installed. The carpenter then constructs a frame using timber or metal studs, which is secured to the floor and ceiling. The frame is covered with plasterboard or drywall, which is then taped and filled to create a smooth surface. The carpenter can then add doors, windows, or other features to the partition as needed. Finally, the finished partition is painted or decorated according to the client's specifications.

FREE
In scaffolding, temporary structures are built to support workers and materials during construction, repair or maintenance of buildings, bridges, and other structures. This Carpentry Level 4 video focuses on the various types of scaffolding, including frame scaffolding, suspended scaffolding, and mobile scaffolding. The instructor discusses the different components of scaffolding, including frames, braces, planks, and safety equipment, and how to assemble and disassemble them. Safety precautions such as proper anchoring, use of personal protective equipment, and weight limitations are also emphasized. The video provides detailed instructions on how to build and use different types of scaffolding, ensuring that workers can do their jobs safely and efficiently.

FREE
In Carpentry Level 4, the topic covered is the installation of a wooden floor. The instructor starts by explaining the importance of selecting the right type of wooden floor for a specific project and calculating the required amount of material. The tools required for the job are also discussed, which include a miter saw, table saw, jigsaw, hammer, and pneumatic nailer.
Next, the instructor explains the process of preparing the subfloor, which includes leveling, cleaning, and moisture testing. The installation process is then demonstrated, starting with the placement of the first row of boards. The instructor explains how to use a pneumatic nailer to secure the boards to the subfloor, as well as how to stagger the boards and maintain proper spacing.
The video also covers how to cut boards to fit around obstacles such as doorways and vents using a jigsaw or handsaw. The instructor explains how to properly measure and mark the boards to ensure a precise fit. The video concludes with an explanation of how to finish the edges of the floor with trim, including how to cut and install quarter-round and shoe molding.
FREE
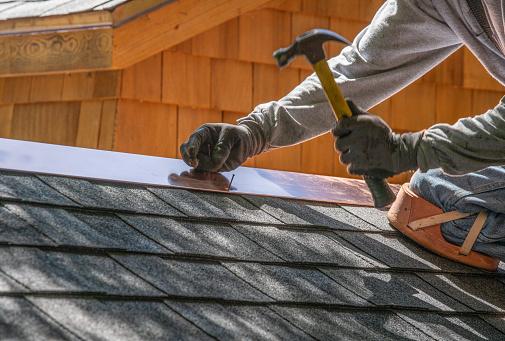
This video is about constructing a roof in carpentry, focusing on the different steps and techniques used in the process. The instructor first goes over the tools and materials needed for the job, including timber, roofing sheets, and nails. The video then covers the process of measuring and cutting the timber, including the use of a power saw. The instructor also discusses the importance of measuring and marking accurately to ensure a good fit for the roof. Once the timber is cut, the instructor demonstrates how to create a roof frame using joists and rafters. The video then moves on to the installation of the roofing sheets, with the instructor showing how to lay and secure them in place. Finally, the video covers the process of adding finishing touches, such as guttering, to complete the roof. Throughout the video, safety precautions are emphasized, such as wearing appropriate protective gear and working with caution when using power tools.

FREE
In the video "Constructing A Staircase - Carpentry Level 5," an experienced carpenter demonstrates how to build a wooden staircase. The video covers the various steps involved in constructing a straight flight staircase, including measuring and cutting stringers, installing treads and risers, and securing handrails. The carpenter begins by measuring and marking out the stringers, and then cutting them to size using a circular saw. Next, he explains how to install treads and risers, ensuring they are level and secure.
The video also covers how to cut and fit handrails, including using a router to create a groove for the handrail to sit in. The final result is a sturdy, well-constructed wooden staircase that can add value and functionality to any home or building.

FREE
In Carpentry Level 5, Exterior Cladding is discussed, which is the application of a protective layer to the exterior of a building. The video shows different types of cladding materials, such as timber, vinyl, fiber cement, and metal. The instructor explains how to calculate the amount of cladding needed, how to prepare the surface, and how to install the cladding using appropriate tools and techniques. Proper safety precautions are also emphasized, such as the use of personal protective equipment and proper ladder placement. The finished product is a durable and attractive exterior surface that protects the building from the elements.